Real-Time Data Flow with HubSpot Webhooks
How to eliminate data lag, build instant automations, and make your tech stack reactive
From Batch Updates to Real-Time Power
We’ve all lived through the Data Sync Nightmare. A high-intent lead fills out a “Contact Sales” form, but your external notification system only syncs every hour. By the time the sales rep gets the alert, the lead has already booked a demo with a competitor. Or a deal closes in HubSpot, but your finance team doesn’t know until a manual CSV is emailed at the end of the week.
Data silos form when your systems don’t communicate in real time. In 2026, a one-hour delay is an eternity. These lags translate into missed revenue, frustrated teams, and a fragmented customer experience.
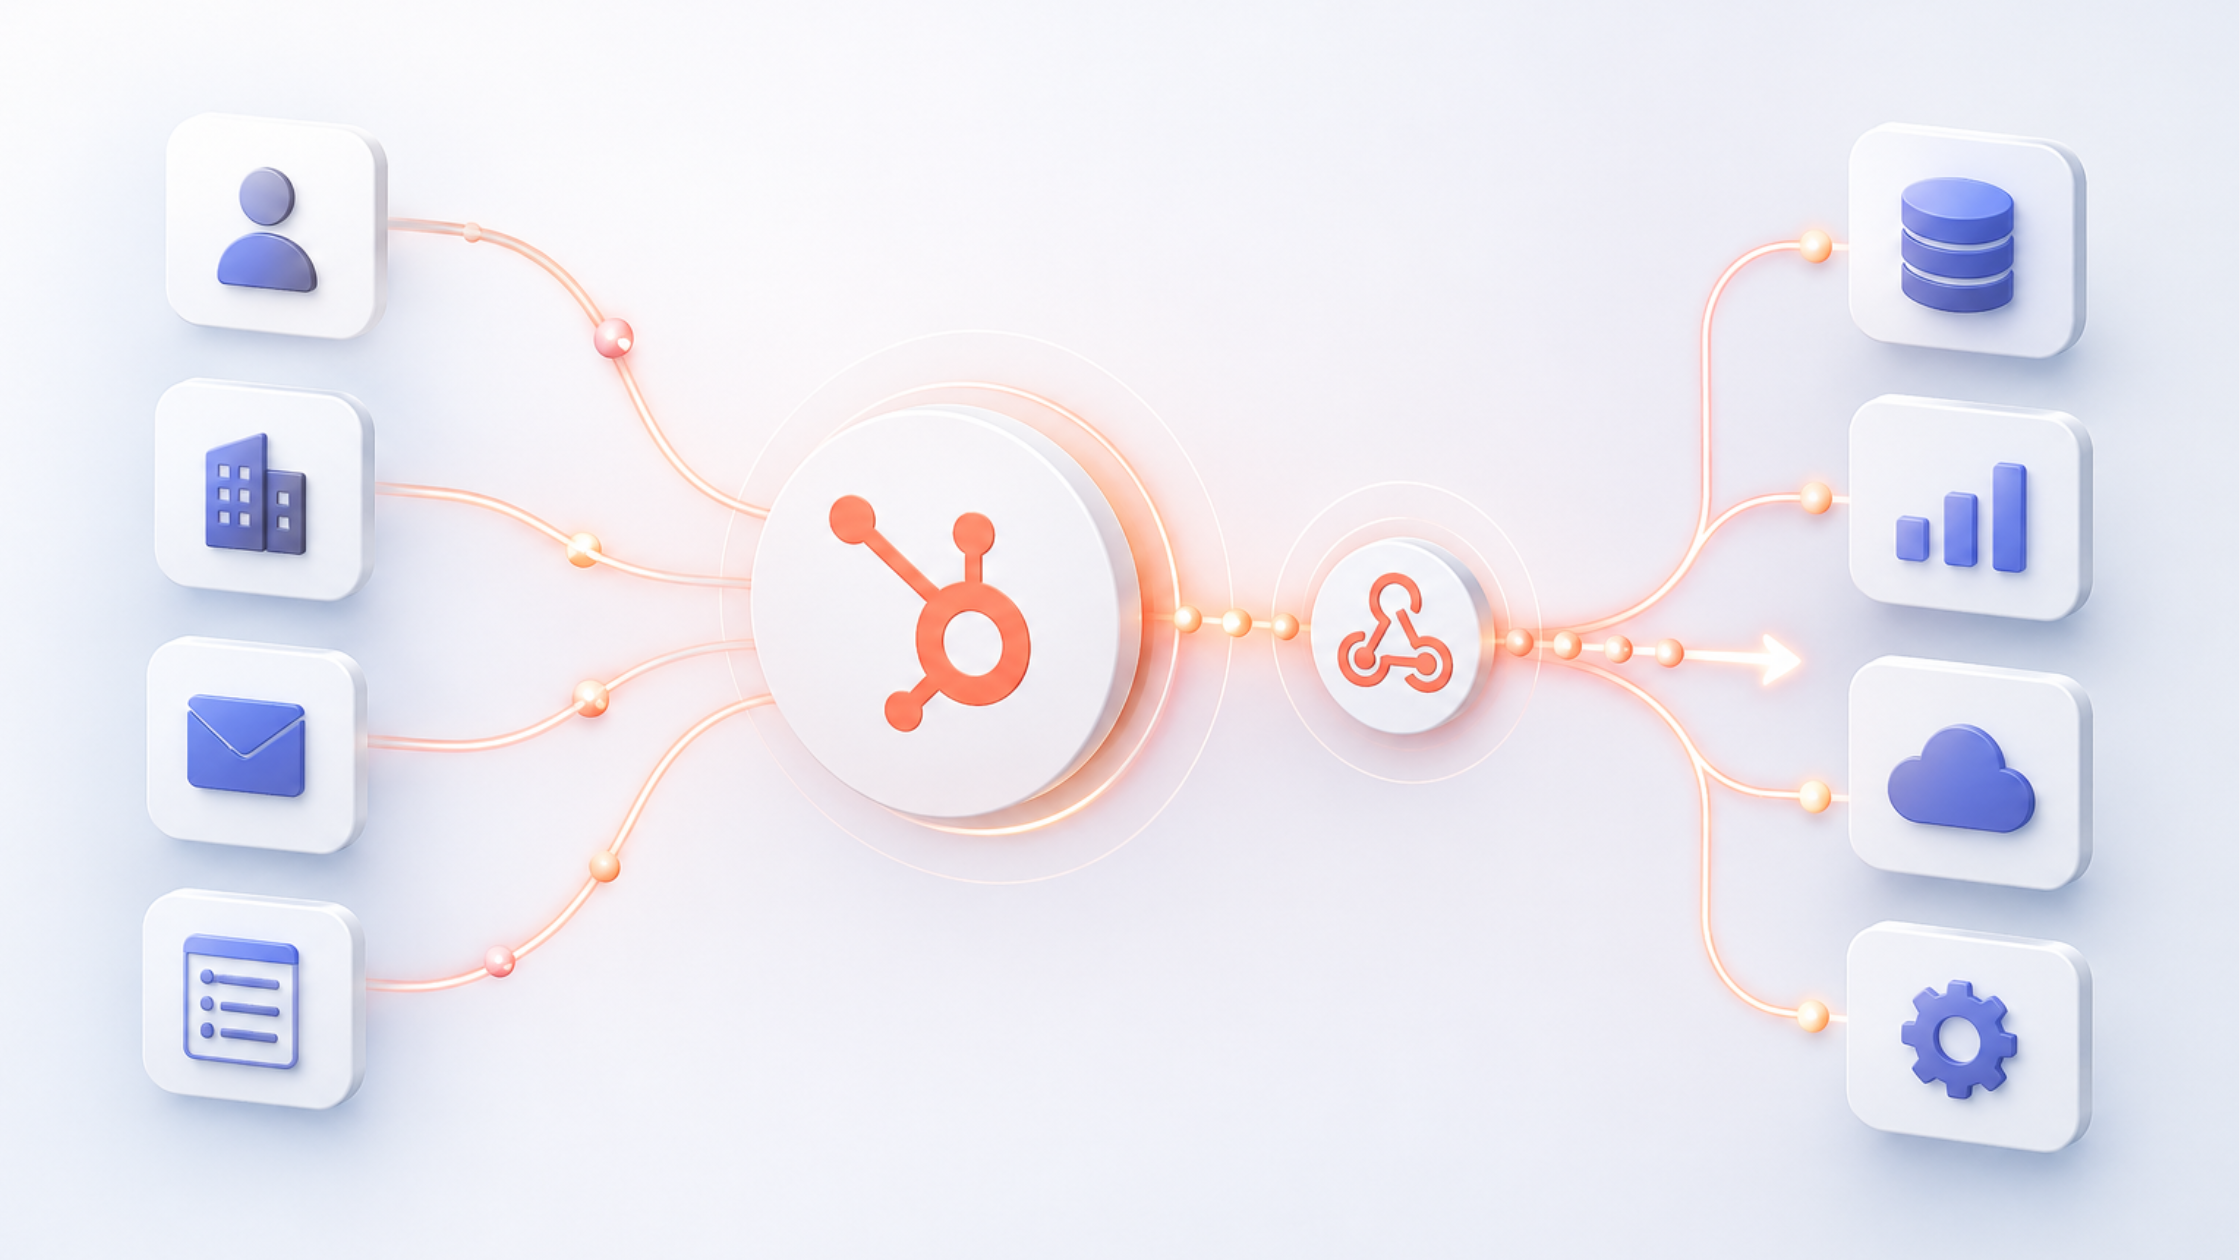
But what if HubSpot could notify your other applications the instant something important happens? That’s exactly what webhooks do. This guide covers what HubSpot webhooks are, why they’re essential to a modern tech stack, and how to set them up — with enough depth that you can actually build something in production.

What is a Webhook? The “Push Notification” for Your Apps
If you’re new to APIs, the easiest way to understand webhooks is through a simple analogy.
The Old Way: API Polling Imagine waiting for a table at a busy restaurant. Every five minutes, you walk up to the host stand and ask: “Is my table ready yet?” This wastes your time and annoys the host. This is API polling — your app repeatedly asks HubSpot “Has anything changed?” even when the answer is almost always no.
The New Way: Webhooks The host takes your phone number and texts you the moment your table is ready. You act only when there’s something to act on. That’s a webhook — HubSpot notifies your app instantly when an event occurs, with no continuous checking required.
Three core concepts:
- Endpoint: A unique URL where your receiving application “listens” for HubSpot messages.
- Event: The trigger — such as a contact being created, a deal stage changing, or a ticket being closed.
- Payload: The data HubSpot sends, typically in JSON format, containing the specifics of the event.
Here’s what a real payload looks like when HubSpot fires on a new contact creation:

Each payload includes the subscription type, your portal ID, the object that changed, what property changed, its new value, and a Unix timestamp. Your receiving endpoint uses this to trigger whatever action comes next.
The Two Types of HubSpot Webhooks
| Criteria | Workflow-Based Webhooks | API Subscriptions |
|---|---|---|
| Who it’s for | Marketing & RevOps pros | Developers & technical builders |
| Technical skill | Low — visual builder | High — coding required |
| HubSpot tier | Professional or Enterprise | Any (via Developer Portal) |
| Best use case | Targeted triggers with enrollment filters | High-volume, any-property listeners |
| Limitations | Workflow-supported objects only | Requires dedicated server/app |
| Authentication | Built-in HubSpot signatures | Manual signature validation |
A. Workflow-Based Webhooks (For the Ops Pro)
This is the most popular option for Marketing and Revenue Ops teams. If you are comfortable building a HubSpot Workflow, you can build a webhook.
How it works: You use the “Send a webhook” action as a step within any standard workflow.
The Pros: It is visually intuitive. You can use HubSpot’s complex enrollment criteria (e.g., “Only send this if the lead is from the US AND has a score over 50”) to filter which data gets sent.
The Cons: It requires a Professional or Enterprise subscription and is limited to the objects supported by workflows.
B. Webhook API Subscriptions (For the Developer)
This is the choice for developers building custom apps or deeply integrated software products.
How it works: You subscribe to specific object events (like
contact.propertyChange) via the HubSpot Developer Portal.The Pros: Extremely high performance and granular control. It can listen for changes to any property across your entire portal without needing hundreds of workflows.
The Cons: It requires coding knowledge and a dedicated server/application to manage the subscriptions and authentication.
Step-by-Step Guide: Your First Workflow Webhook
For this walkthrough, we’ll use Make.com, Pipedream, or webhook.site as the receiving endpoint — any of these work for testing.
Step 1: Set Your Enrollment Trigger Create a new contact-based workflow. Set enrollment criteria — for a real-world test, use “Form Submission is any.” This ensures every new form fill fires the webhook so you can verify it’s working.
Step 2: Add the “Send a Webhook” Action Click the (+) icon, select “Send a webhook,” paste your endpoint URL, and set the method to POST.
Step 3: Configure the Payload
- Authentication: For testing, you can leave this blank. For production, always use Request Signatures. See the Security section below.
- Payload: Choose “Select specific properties” rather than “Send all properties.” Smaller payloads are faster to process and expose less data than necessary.
Step 4: Test and Activate Use the “Test” button in the workflow editor. Select a sample contact and hit Send. Open your endpoint tool. If you see a JSON block appear, you’re integrated.
💡 Pro Tip: Only send the properties you need. It’s not just faster — it reduces your attack surface. If an endpoint is ever compromised, the attacker only sees a subset of your contact data, not the full record.
Security: Validating Webhook Signatures
Never leave a webhook endpoint unprotected in production. HubSpot sends an X-HubSpot-Signature header with every request so your server can confirm the message is legitimate before acting on it.
HubSpot generates a hash using your app’s client secret + the request body. Your server recomputes the same hash. If they match, the request is authentic. Here’s a Node.js example:

Without this check, anyone who discovers your endpoint URL can send fake events. This is non-negotiable for production integrations.
Real-World Use Cases
For Marketing: Instant Lead Enrichment When a lead submits a form, HubSpot fires a webhook to an enrichment service like Clearbit or 6sense. The service identifies the lead’s job title and company size, then writes that data back to HubSpot via the Contacts API — before the sales rep even opens the record. This two-step pattern (webhook out → API write back) is worth understanding: the webhook notifies the third party, and the third party uses HubSpot’s API to update the contact.
For Sales: The Closed-Won Cascade The moment a deal moves to Closed-Won, HubSpot fires webhooks in parallel to Asana or Monday.com (to create an onboarding project), Slack (to alert the company), and QuickBooks (to draft the initial invoice). The sales team closes the deal; everything else happens automatically.
For Service: Proactive NPS Recovery When a customer submits a low NPS score, a webhook fires to Jira creating a high-priority Service Recovery ticket. The engineering or success team sees it immediately rather than waiting for a weekly report.
Best Practices and Common Pitfalls
1. Validate Every Signature Never trust a naked endpoint. Use HubSpot’s X-HubSpot-Signature header to verify authenticity on every incoming request, as shown above.
2. Respond with 200 OK Immediately Your endpoint must acknowledge receipt fast — ideally under 500ms. If HubSpot doesn’t receive a 200 OK quickly, it assumes delivery failed and starts retrying, which leads to duplicate events. The fix: send the 200 OK immediately, then handle the payload in a background job.
3. Understand Retry Behavior HubSpot retries failed webhook deliveries with exponential backoff — typically up to 10 attempts over several hours. This means your endpoint must be idempotent: processing the same event twice should not create duplicate records. Use the objectId and occurredAt fields from the payload to deduplicate.
4. Avoid Infinite Loops If your webhook triggers an action that updates the same HubSpot property that fired the webhook, you’ll trigger it again. Always add filter logic to your workflows as a guard. A common approach: check whether the webhook has already fired for this record within the last N minutes.
5. Only Send What You Need Sending all contact properties feels convenient but creates unnecessary payload bloat and data exposure. Select specific properties and keep your payloads lean.
6. Log Everything in Early Builds During development, log the full incoming payload to Pipedream or a simple logging endpoint. You’ll catch unexpected property names, missing fields, and edge cases before they cause problems in production.

Your HubSpot Data Is Now Live
Webhooks transform HubSpot from a passive digital filing cabinet into an active, event-driven engine. They let your tech stack breathe and react in real time, ensuring data is always where it needs to be the moment it’s needed.
Start small. Pick one manual process — Slack notifications for VIP leads, a task created when a deal closes, an alert when NPS drops — and build your first webhook today. Once you see it fire in real time, you’ll wonder how you operated any other way.
Want to see what a real-time HubSpot integration could look like for your team?
Resources:
HubSpot Developers – Webhooks API Overview: https://developers.hubspot.com/docs/api/webhooks
HubSpot Knowledge Base – Use Webhooks in Workflows: https://knowledge.hubspot.com/workflows/use-webhooks-in-workflows
HubSpot Developers – Validating Request Signatures: https://developers.hubspot.com/docs/api/webhooks/validating-requests
Webhook.site – Free Tool for Testing Webhooks: https://webhook.site